pinterest pin it

Saturday, May 31, 2014

Ocean Blog Hop Reveal Day

The day is finally here. It is Ocean Blog Hop Reveal Day. I signed up back in the depth of winter and am getting to share it with you just before the official arrival of Summer.

Our organizer, Lisa Lodge, sent us each a kit with an assortment of beads. We were challenged to create jewelry that has an "Ocean" theme.  I got a kit that included cultured sea glass, a clay fish by Shaterra and clay mermaid beads by Gaea.
Kit from Lisa
I bent the rules just a bit by doing a beaded box, But I already had the delicas pulled together for the wave box designed by Julia Pretl. So I made a few changes to the colours that Julia used so that the mermaid beads from Gaea would work as feet and a finial. I used the following colours 351/372/792/84/310.
Wave box, design by Julia Pretl
I secured the feet and finial with head pins, crystals and earring stoppers.
Gaea mermaid beads used for feet and finial
Now back to following the rules. I wanted to create a bracelet so that it would look like the fish was jumping out of the water. I orginally tried to rechart the wave from the box but that proved too difficult. I knew that there had to be a pattern out there for me to use.

I had seen some of Debbie von Tonder's wonderful cuff patterns on Facebook. So I went to her peyote pattern etsy store and found two possible patterns, Sea Curl and Under the Sea.

I decided to use the Under the Sea pattern with colors from the fish. The tail of the fish is attached to one end and a lobster claw clasp is on the other end. A couple of jump rings hang from the mouth to finish the design.
Under the Sea Cuff with Shaterra fish, designed by Debbie von Tonder
Another view of cuff
What to do with the white cultured sea glass beads. I added some other cultured sea glass that I had purchased during one of Lisa's destash events on Facebook. These soft green star fish and small round green beads are perfect. I used a small round magnetic closure.
Cultured Sea Glass Starfish Bracelet
I had one of the mermaid beads from Gaea left. I decided to make a purse charm with the addition of some chain and crystal starfishes from my stash.
Last Gaea bead with crystal stars
I am so glad that I was able to use all the beads in the kit. It was great to do another of Julia's boxes and try something different like Debbie's peyote cuff.

Thanks again to Lisa for organizing this great challenge.

Take some time to see what some of the others have done -


Our hostess:  Lisa Lodge, A Grateful Artist
Christie Searle Murrow, Charis Designs Jewelry
Kim Dworak, Cianci Blue
Karin Grosset Grange, Ginkgo et Coquelicot
Candida Elkins Castleberry, Spun Sugar Beadworks
Veralynne Malone, Designed by Vera
Monique Urquhart, A Half-Baked Notion
Katrina Taylor, I Wanna Go Out
Mary Ann Macri Jacobs, Trucksville Crafts
Jeanne Steck, Gems by Jeanne Marie
Ann Schroeder, Bead Love
Marianne Baxter, Simply Seablime Jewelry
Terri Wlaschin, Dances in Fog
Margaret Pelech, TBD 
Jo-Ann Woolverton, It's a Beadiful Creation
Kathy Zeigler Lindemer, Bay Moon Design
Heather Richter, Desert Jewelry Designs
Andrea Glick-Zenith, ZenithJade Creations


Happy Beading!

Tuesday, May 20, 2014

Beaded Dragonfly

For my last Preschool Storytime of the spring I was looking for a simple but fun craft for the kids. I found an idea for a beaded caterpillar on pinterest. While it was cute, I wanted something a bit different. I came up with this beaded Dragonfly.

It tied in well with the bug stories I was able to find in the collection and the Stella and Sam episode about dragonflies.

What you need for one dragonfly - 1 Pipe cleaner (15cm), 2 pieces tissue paper (about 13cm x 6.5 cm), and 7 pony beads.
Everything is ready to make a dragonfly
Here are the steps to make your own!
Fold pipe cleaner in half and place one bead on in the center.
Twist pipe cleaner ends close to bead to secure.
Pinch tissue paper in center to create wings.
 Place between pipe cleaner ends next to twist. Twist ends again to secure wings.
Bring pipe cleaner ends together and put remaining beads over 
both ends of the pipe cleaner to form body.
All six beads are on to form body. Kids could be encouraged to create a pattern.
Fold each remaining pipe cleaner end over last bead to secure.
Here is my flight of beaded dragonflies
You could make your own flight and use them to make a mobile. You could stick it onto an adhesive magnetic strip to make a fridge magnet. 

Your dragonflies could become fireflies with the use of glow in the dark beads.

Here are my other preschool craft ideas - Valentine's Day Monster Card and Owl Puppet.

Happy beading! 

Sunday, May 18, 2014

Ocean Blog Hop Sneak Preview

Back in the depth of what seemed like to longest winter in many years, I signed up for another of Lisa Lodge's blog hop. This one started with a kit from Lisa that included cultured sea glass, clay fish by Shaterra and clay beads by Gaea.

We are challenged to create jewelry that has an "Ocean" theme, using as many beads from the kit as possible.

I was able to adapt a planned project to work with the kit. With that completed I needed to use the amazing fish. My first plan didn't proceed as I had hoped. Found a great pattern by Debbie von Tonder.

I just need to get pictures taken of the everything. So, stop back on June 14 to see both of these projects and two other projects that use the rest of the beads in the kit.  

Update - I have been moved to May 31st reveal date! I have everything ready. Stop back on Saturday!

Thanks for the challenge Lisa!

Happy beading!

Saturday, May 10, 2014

Bead Soup Blog Party #8 - It is Reveal Day!

One week later than originally scheduled ... it is finally Reveal Day!

I have had my pieces finished for awhile. I have even worn them to work and a family gathering. I am pleased with my designs, but might tweak them for weariblity.

Here is what I was sent by my wonderful partner and fellow Canadian Deborah Read.
Wire, cubes and crystals
Two colour palettes
Blue, teal and copper
Ocher, cream, copper and silver
I used the cubes, teal lampwork beads, copper cresent, mixed metal beads, copper rings and toggle. I added copper seed beads, wavy discs, end cones, toggle and Conso thread.

I wanted to see if I could continue my recent fascination with Kumihimo using the cube beads. I knew that I would need to test the workablity of the cubes. I did a quick test using the cubes and size 8 seed beads.
Test of kumihimo with cubes
This worked well, but it needed a large seed bead. I was able to find some amazing copper metal seed beads in size 6.
Detail of kumihimo braiding
With two lengths of braiding done with cubes and copper beads I connected them together with the etched copper crescent (from the soup), copper seed beads, wavy discs and some of the teal lampwork beads (also from the soup).
Detail of focal arrangement
I used a basic copper toggle to finish this necklace. I have worn it a few times. I like the drape of the focal but it might look better if it was perfectly straight. Will have to look for a harden piece of copper to use.
Overall finished necklace
I decided to use the uncoloured etched toggle that was included in the soup along with most of the remaining teal lampwork and an assortment of the various metal beads included to make a co-ordinating bracelet.
Bracelet
That was everything that I had finished in time for the original reveal day of May 3. With the postponement I was able to do this one other design.

I use a few of the ocher and frosted white lampwork beads with this new earring findings I was sent from John Bead. These findings are interchangeable. You can change out the beads. For now they have the lampwork and a couple of crystals each.
Interchangeable Earrings
Thanks once again to my partner Deborah Read for the amazing soup. I know that I will make other projects with the soup leftovers.

Thanks also to our amazing host, Lori Anderson. I know that being part of this creative adventure helps me to work outside of my usual comfort zone. It is fun, creative and amazing.

I have been lucky to participate twice before. The first time Jelveh Jaferian was my partner and here is what I created and what she created.
6th Bead Soup Blog Party Creations
The second time my partner was, fellow Canadian, Cheryl Brown and here is what I created and what she created.
7th Bead Soup Blog Party Creations
Take some time to look at some of the amazing designs create by my fellow 8th Bead Soup Blog Party participants.

Thanks to all who stop by and Happy Beading!

Monday, May 5, 2014

At Mom's Request

Yesterday I received a couple of emails from my mom. First requesting a bracelet to wear to a wedding in June. The next included a photo of the top she would be wearing.
I called her later in the evening to get a better idea of what her would like. I offered to make something in a bright, bold colour as anything would go with this bold black and white graphic print. She prefered either black or white.

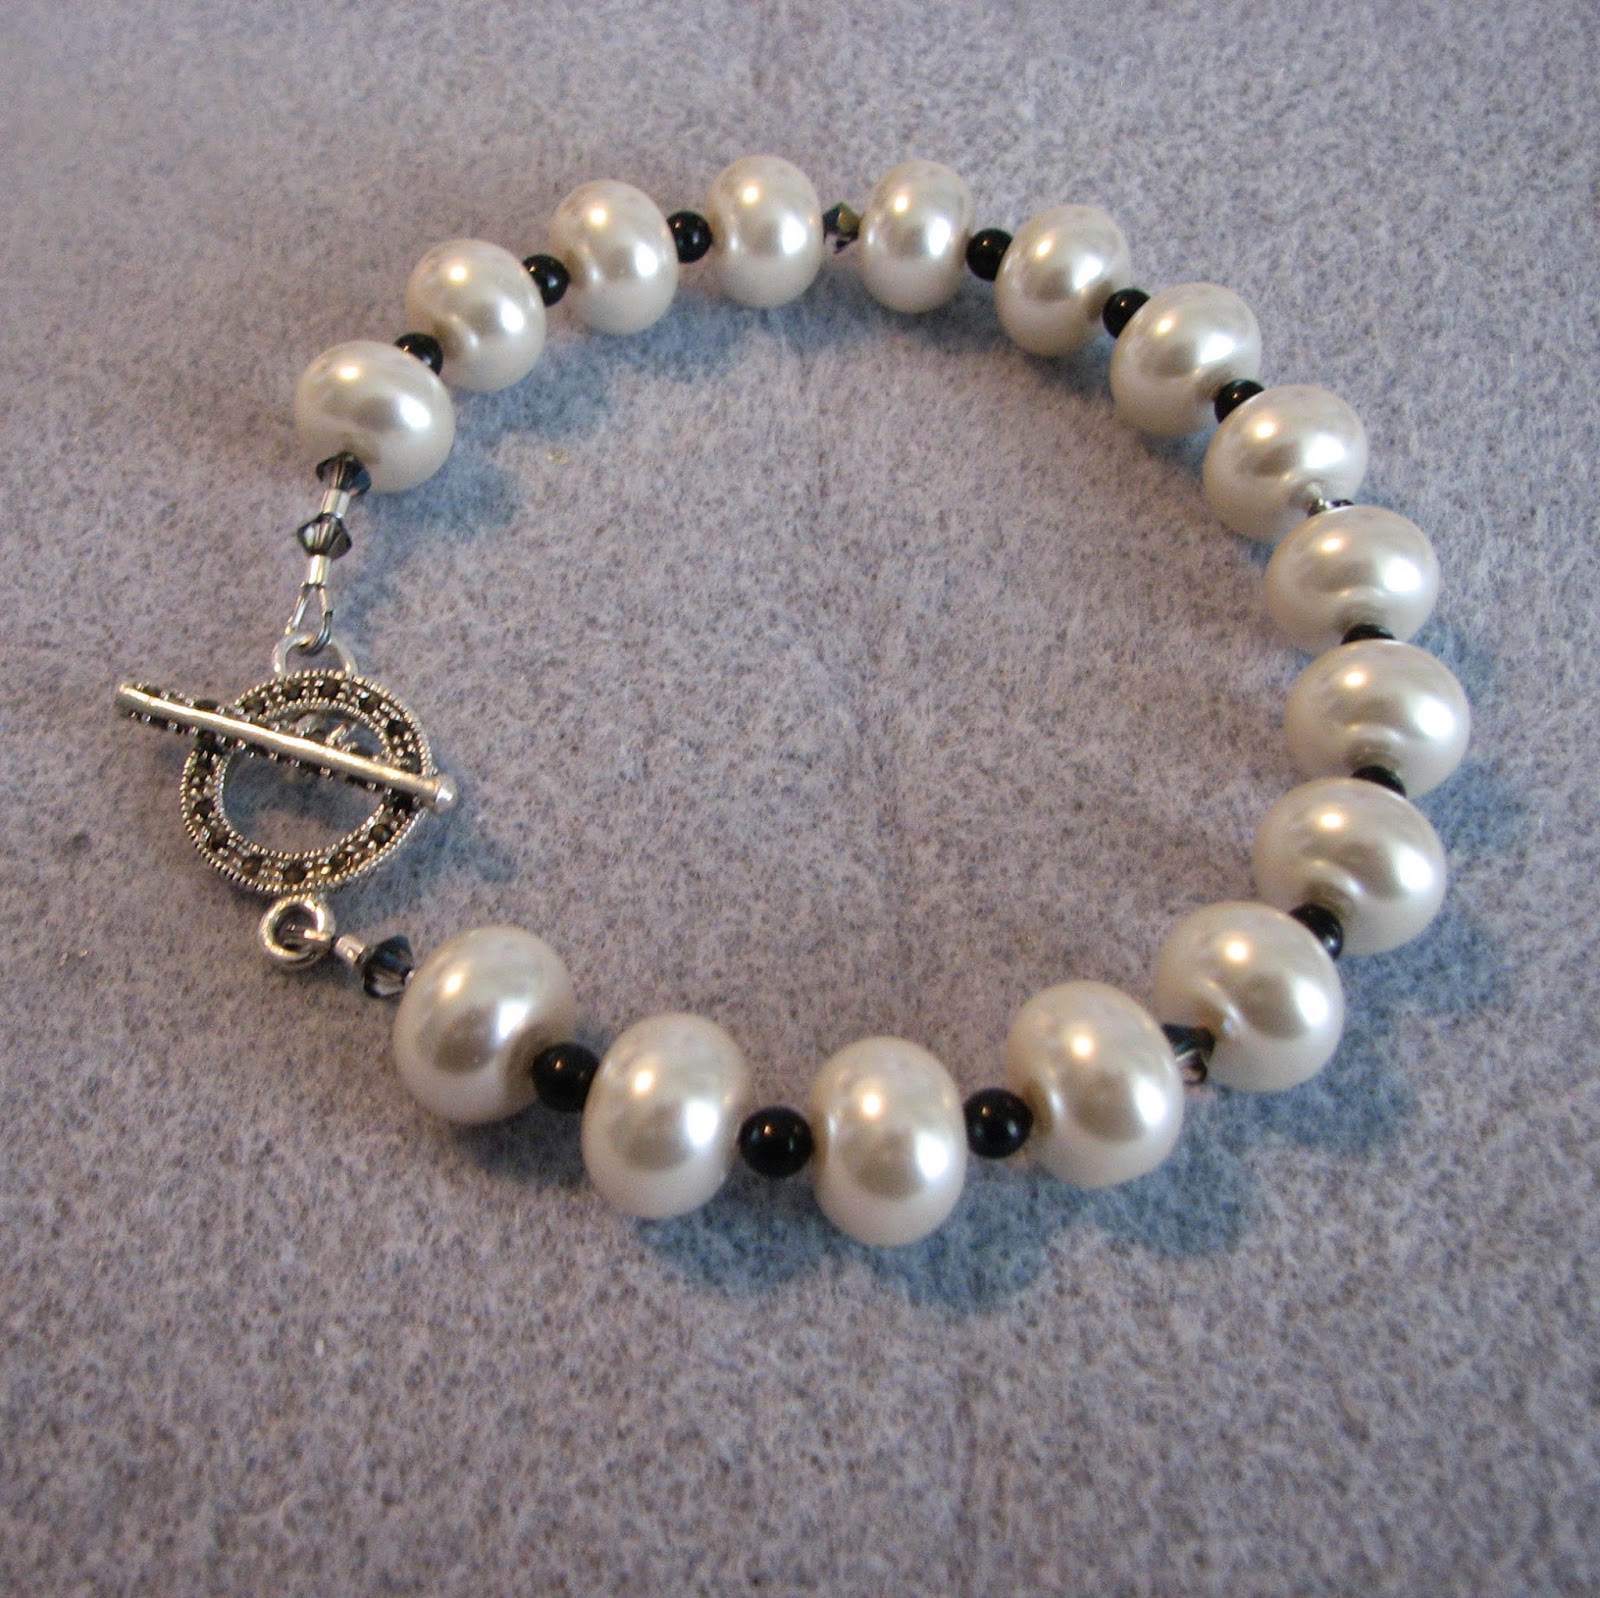
I had just gotten some large white glass beads from Lisa Lodge, so I decided to use them.

I added small black Swarovski pearls and Heliotrope crystals. The circular toggle is inset with hemitite.
I had also told my mom that I would make matching earrings. Here I have made simple dangle earrings.

I just have to pack them up and get them in the mail.I will include a Mother's Day card!

Thanks for the request Mom!

Happy Beading!